Outdoor patio roofing installation made easy.
Part 2 of the DIY roofing install guide.
OK. Are you bored yet! Now using standard framing nails (50mm long shank) nail the plywood every 150mm on the edges of the plywood and 300mm in the centre.
TIP “For a high wind zone or over 8 metres off the ground nail the entire sheet every 150mm. This is called storm nailing and will conform to most plywood manufacturers guidelines”.
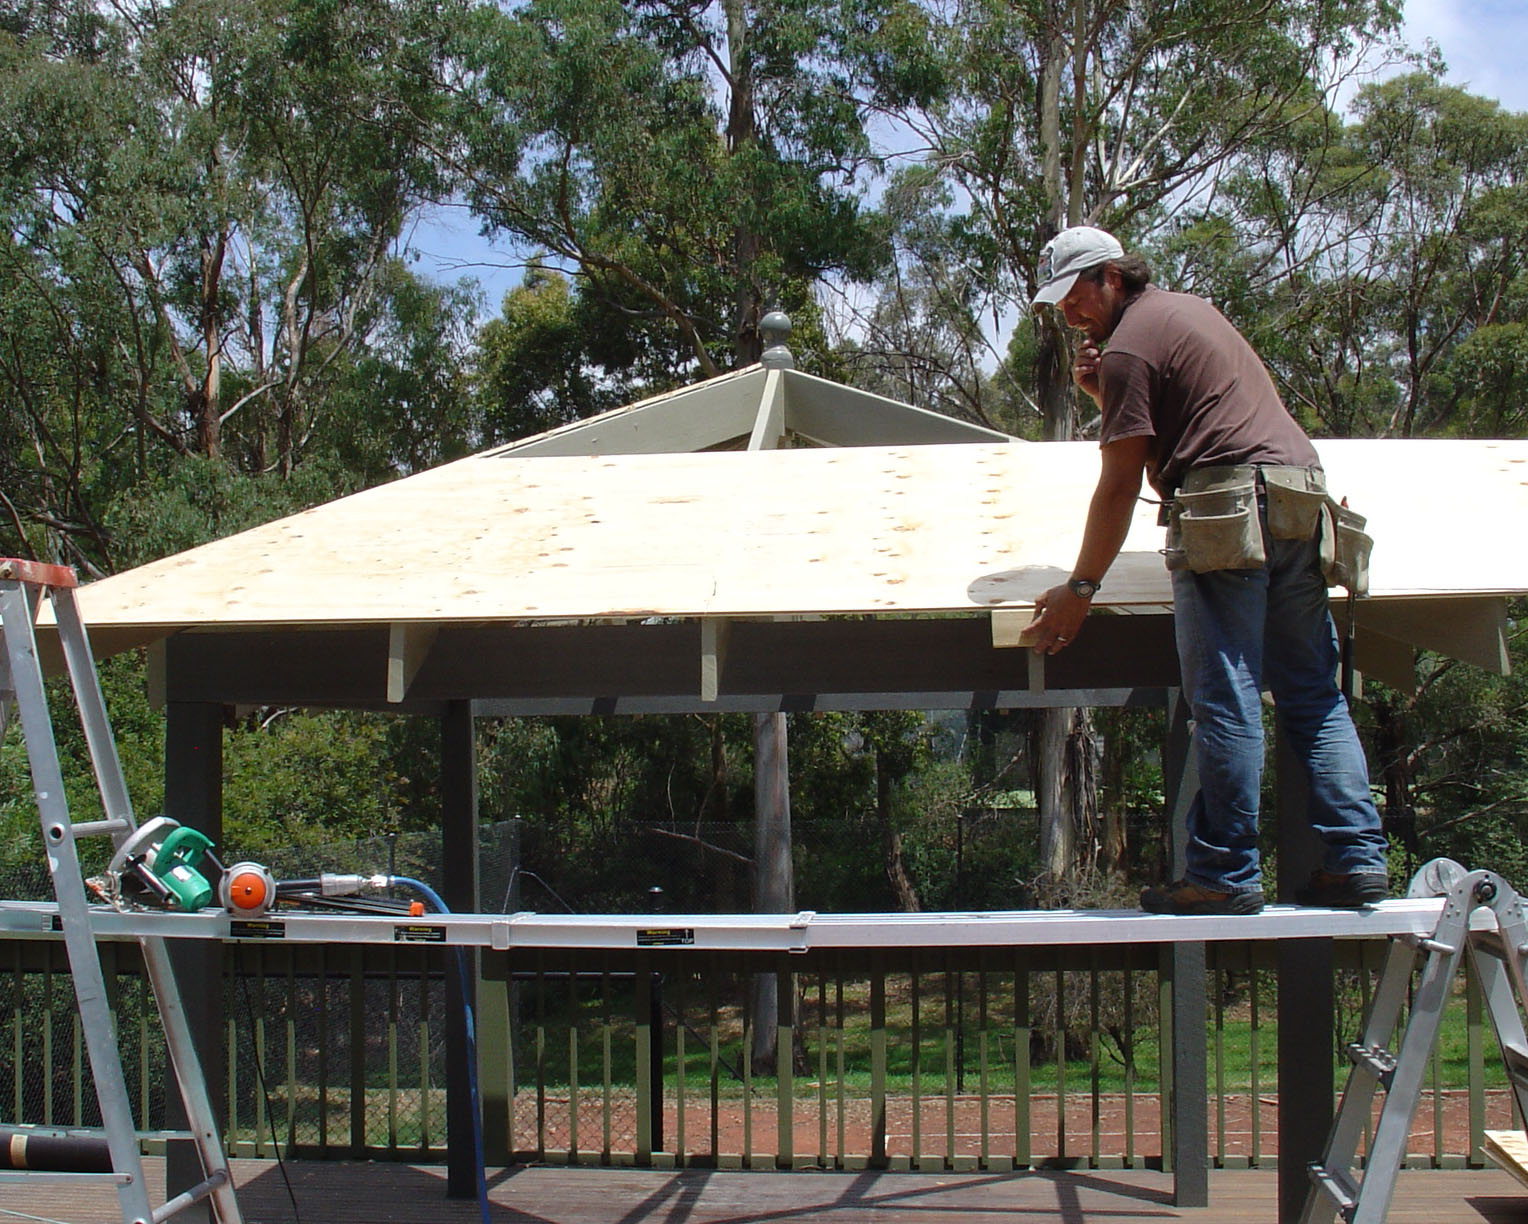
The plywood should be staggered up the roof increasing the structural integrity.
TIP “Allow for a 2 mm gap on the short length of the plywood. This gives room for the plywood to expand as it takes on the moisture of the surrounding environment. You should, but the tongue and groove ends together with no gap.”
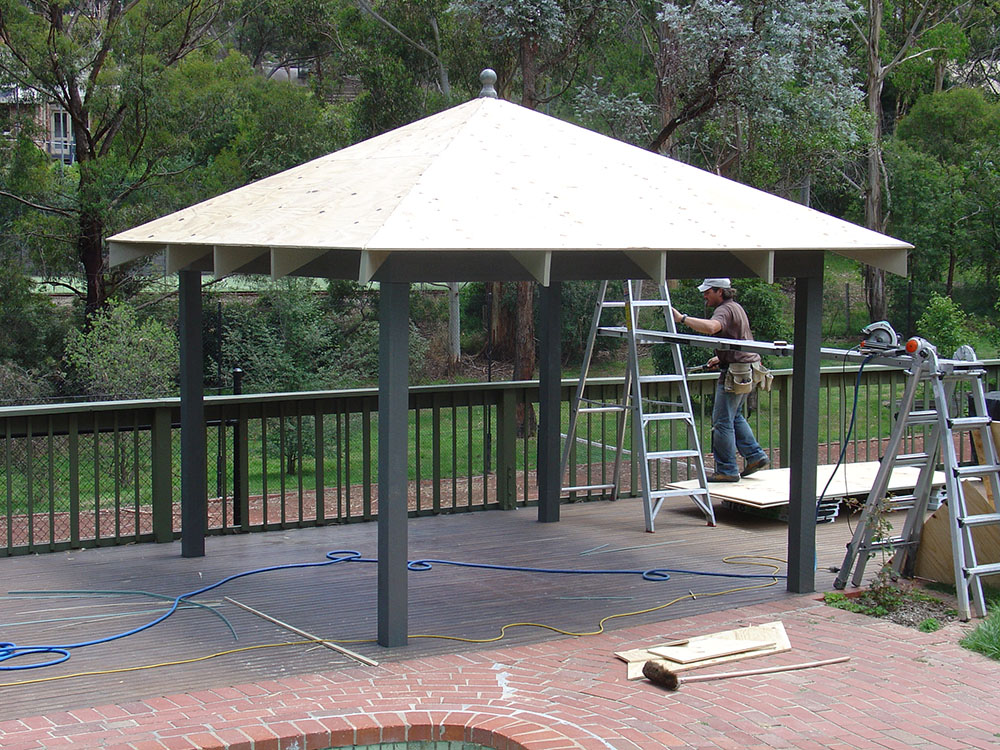
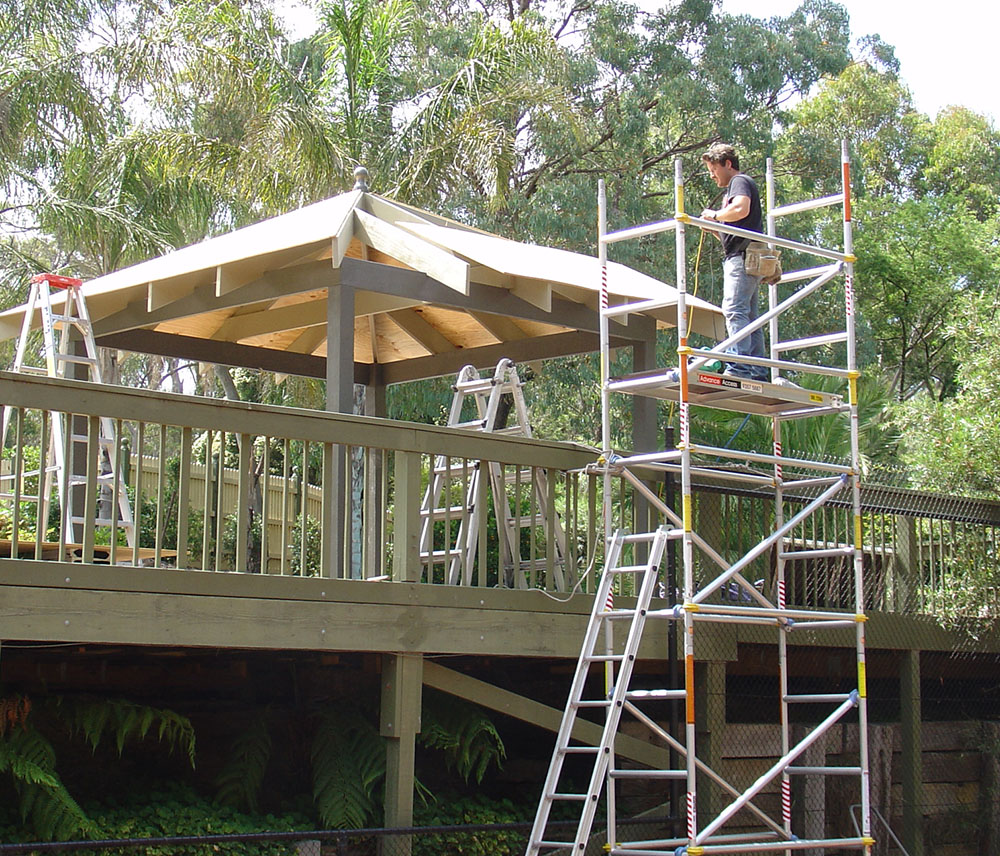
Anything over 2 metres in height is considered “Working at heights” and specific safety measures need to be taken (refer to Work Safe Guidelines). This is a 600mm wide aluminium scaffold that is very lightweight and portable.
TIP “A lightweight alluminium scaffold is very easy to put together and is not too expensive to hire.”
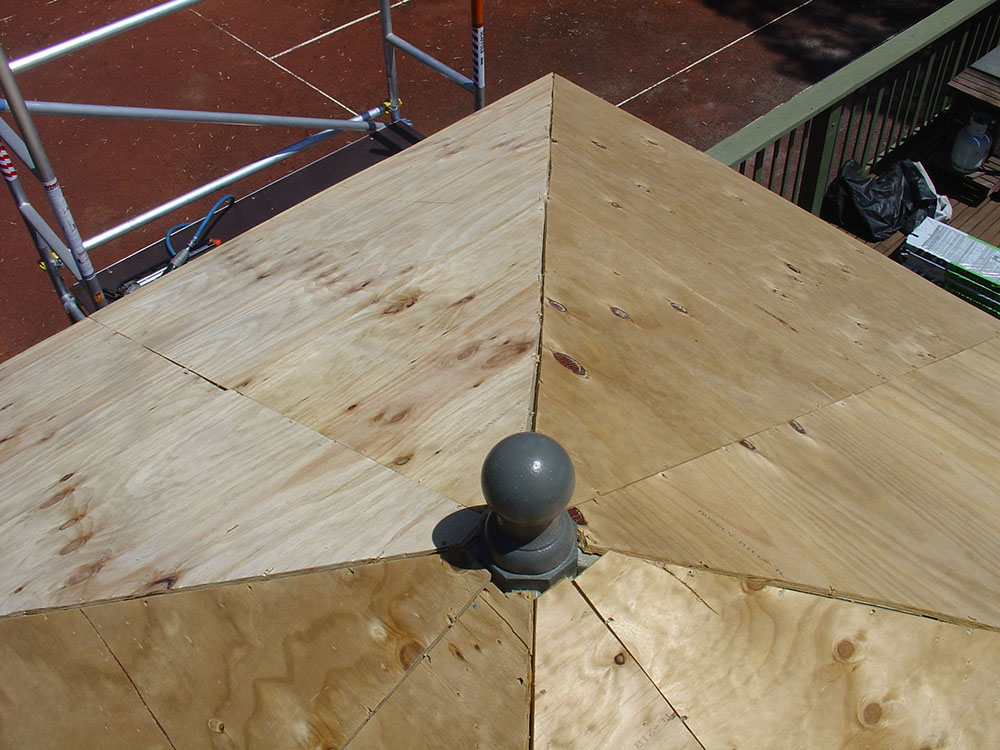
This looks a little messy where the plywood meets at the top; however, there is an easy fix that I will show you later on.
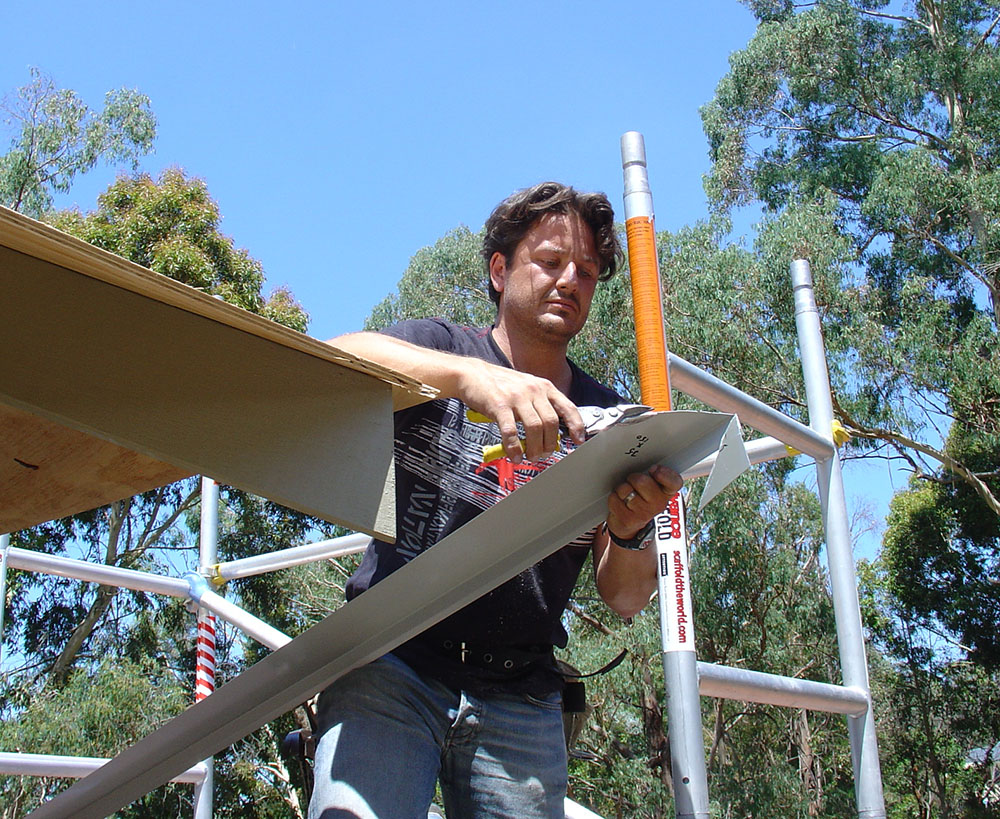
This drip edge is 125mm with a 90° bend then 25mm with a 10mm upturn. The colour is on the outside, generally, Monument to match the dual black shingles. The purpose of this material is to protect the bottom edge of the plywood, which can rot over many years.
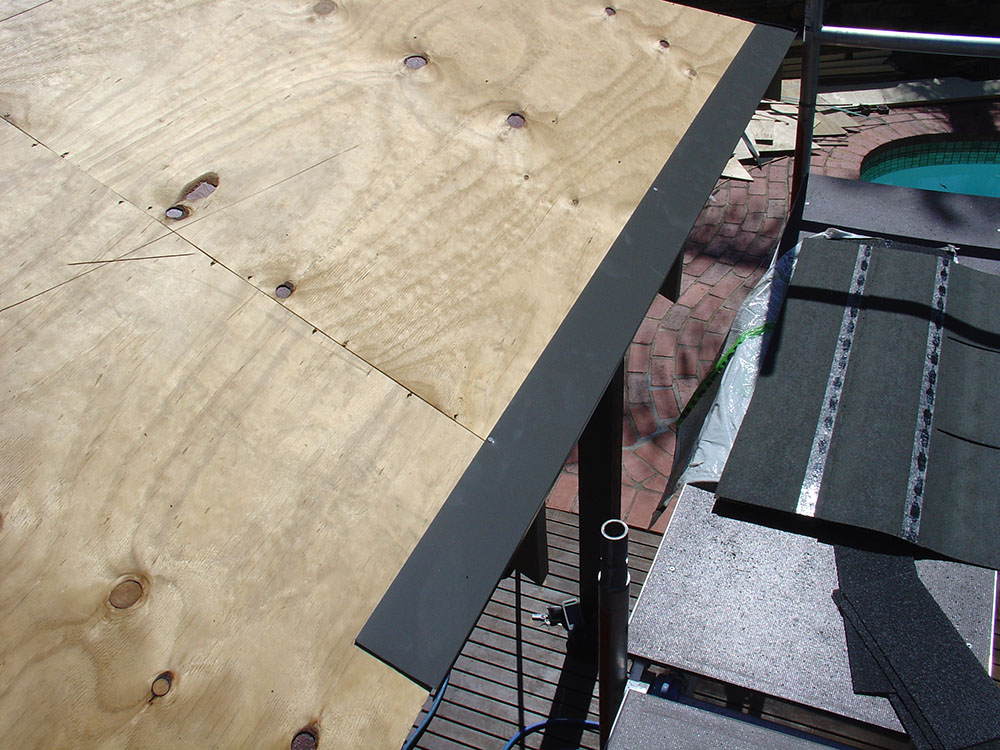
Hammer a nail halfway in on both ends of the face of roof 100mm up from the bottom edge of the plywood and snap a chalk line. This will be used to position the drip edge 25mm below the bottom edge of the plywood. Overlap the drip edge material 100mm at the joins.
TIP “Never nail through two layers of metal drip edge as it will expand in the heat and buckle and warp.”
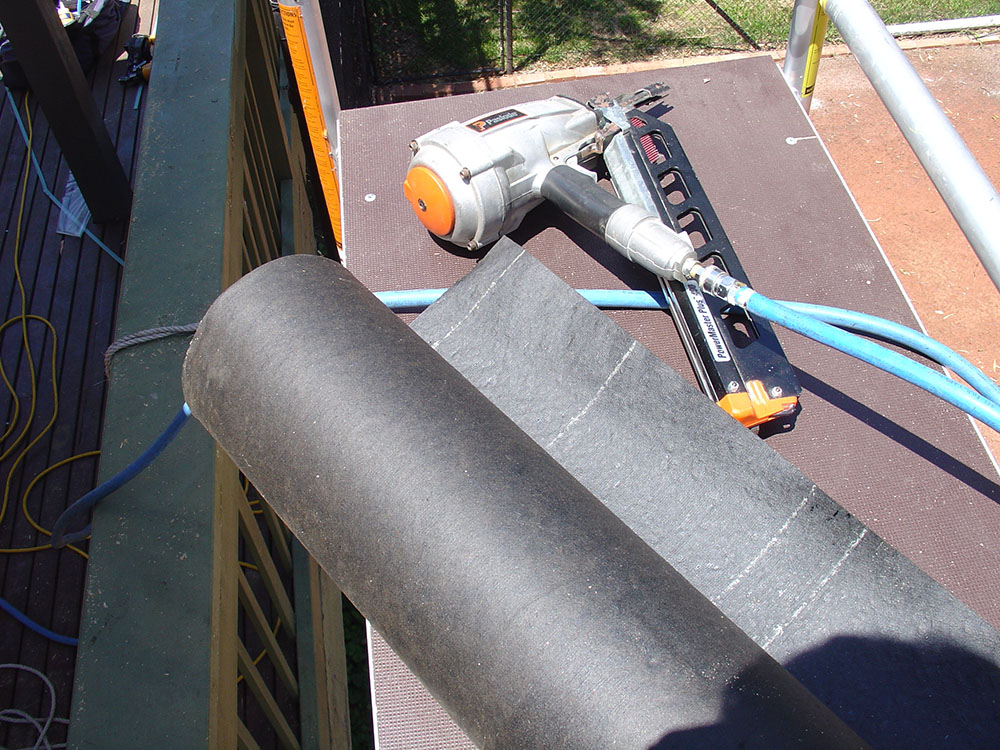
This is a full roll of asphalt Saturated felt material that is used to cover the entire outdoor patio area. One of these rolls covers 40m2 – however, you will lose some area in the overlap. The use of the felt paper gives the entire system a Class A fire rating – Resisting severe exposure to fire. It also protects the asphalt shingles from toxins leaching out of the plywood. Roofing felt paper provides added protection against severe wind-driven rain and reduces the instance of picture framing, which is the visible outlines seen when the plywood is not perfectly flat.
Lay the asphalt-saturated felt material across the roof starting at the bottom. The bottom edge of the felt paper should be in line with the bottom edge of the drip edge. When joining you should overlap 100mm on the vertical joins and overlap 50mm on the horizontal joins. Staple the paper down to hold the felt paper in place. When it is windy, it is useful to have someone to help as it is hard to keep the paper in place.
TIP “Be aware that the asphalt saturated felt paper is only stapled down and it can slip under your feet. This becomes more of an issue the steeper the pitch is.”
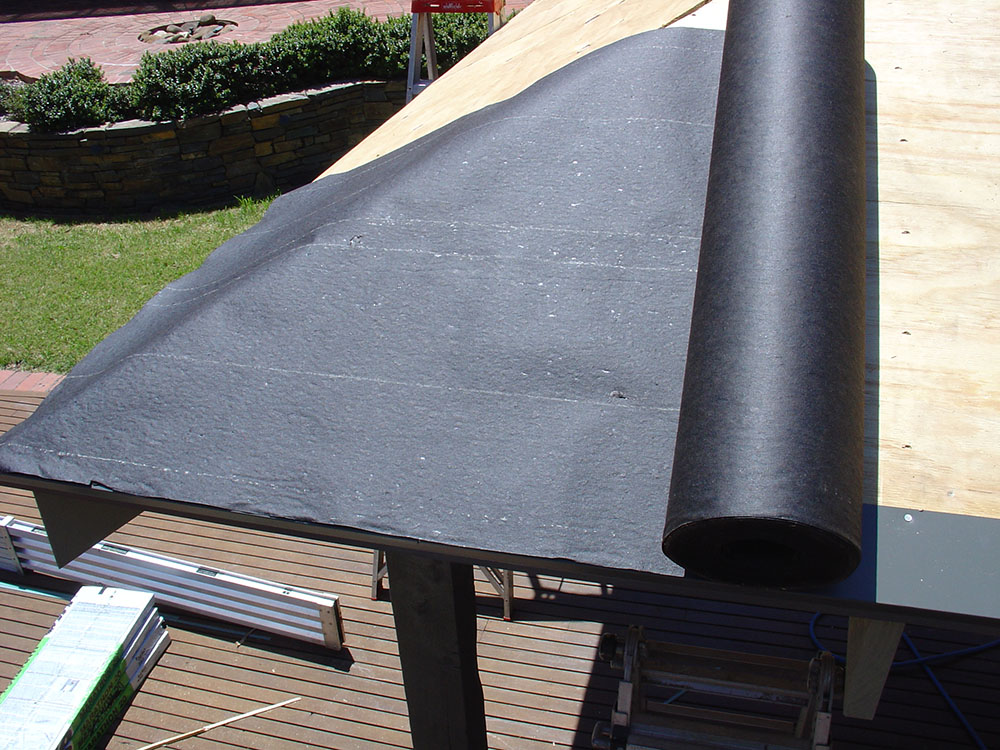
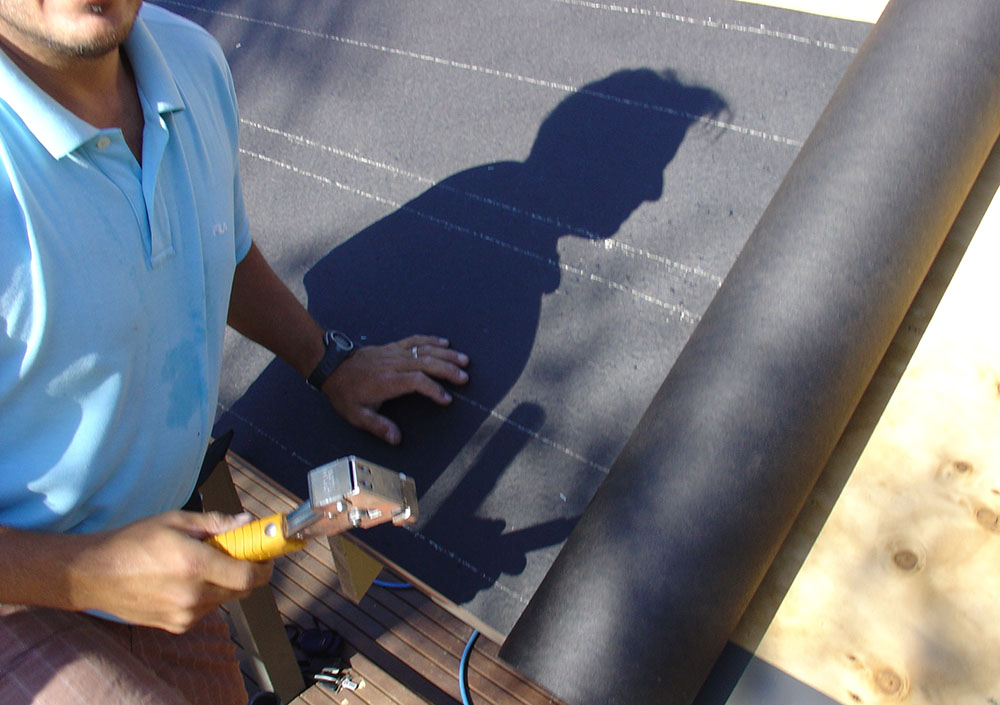
Roll out the asphalt-saturated felt material starting in the corner of the outdoor gazebo. Line up the bottom of the felt material with the bottom edge of the drip edge or the bottom of the plywood – whichever you have. Only use enough staples to hold the underlay in place. Be sure to keep the felt material tight as you roll it across the outdoor gazebo. When you reach the other edge, cut the felt material with a Stanley knife.
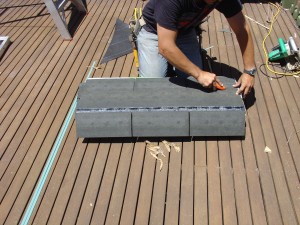
Now we have to cut the starter course “the first course” off the main three-tab asphalt shingle pieces. To do this, I place the bundle of asphalt shingles upside down, use the back of a shingle piece as a guide and carefully cut off the tabs of the shingle. Each piece of starter course will be 1000mm wide so only cut as much as you will need.
TIP “Keep the pieces “tabs” that you have cut off as these can be used as fill in pieces up the hips or along the ridge if you have a ridge.”
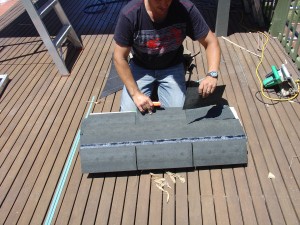
TIP “PLEASE NOTE: It is not necessary to remove the tape of the bottom side of the asphalt shingle. The sole use of this tape is to stop the asphalt shingles sticking together in transit’.”
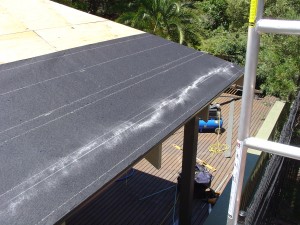
Measuring 180mm from the bottom of the felt material on both ends snap a chalk line. This will be used as a guide for the starter course. The Starter course strips are 190mm deep, and when lined up with the chalk line, the bottom edge will overhang the felt material by 10mm. This creates a secondary “drip-edge” for the water.
Click here to go to Pergola roofing install guide Part 3
